Creating the project using PlatformIO
Today we want to see how to create a new project for the NodeMCU ESP8266 board using the PlatformIO IDE and how to add external libraries to the project.
Please note that the operating system I use is a Linux distribution (specifically Fedora 36). So the folder structure in the project follows the typical Linux one.
PlatformIO is a professional IDE to write, compile, test code professionally and upload it to various boards (such as Arduino, ESP8266, ESP32 and so on). Very useful as it is cross-platform. In fact, it can be used on Windows, Linux and Mac.

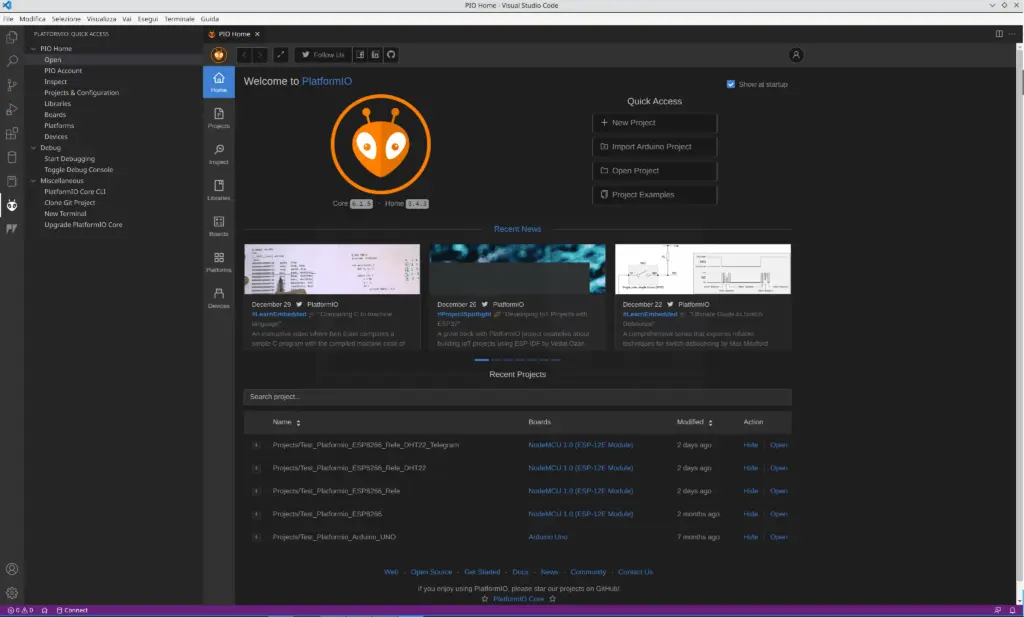
First of all we have to press the “+ New Project” button to access the project creation wizard. The project creation window will open.

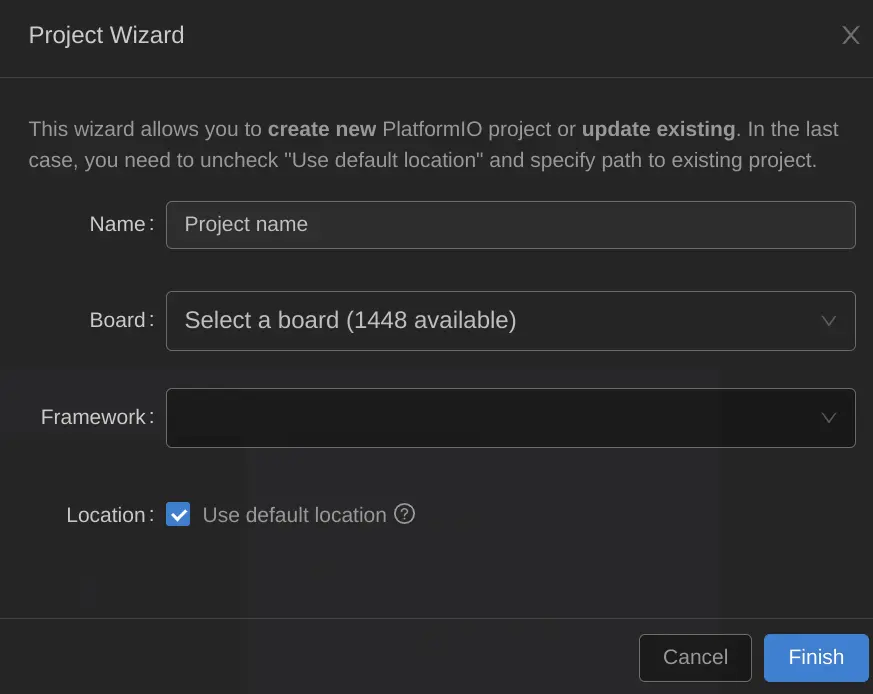
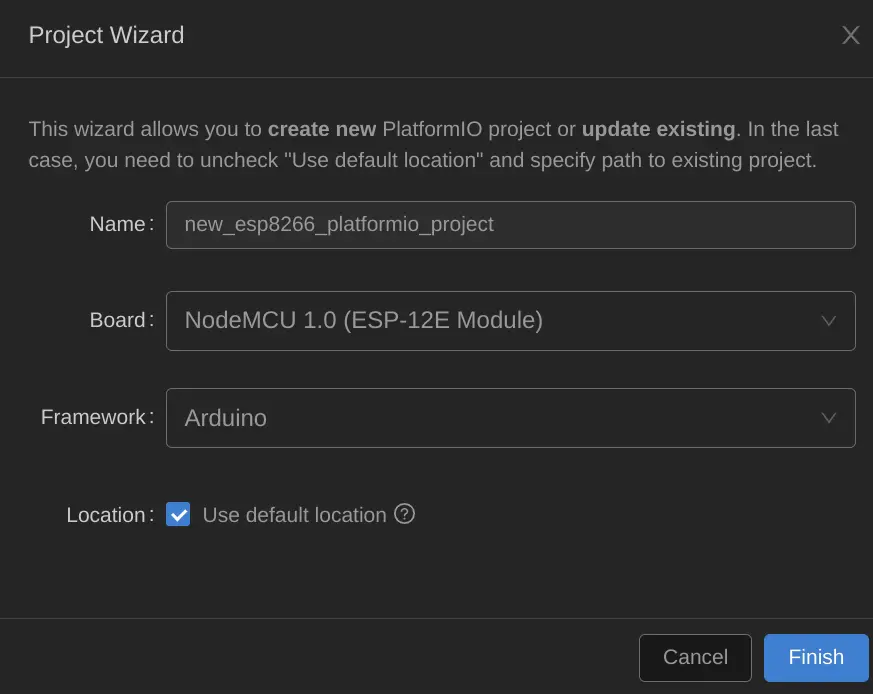
At this point we need to define the Name of the project, the Board we intend to use, the Framework on which the project is based and the Location of the project (the default Location, on Linux, is the folder “~Documents/PlatformIO/Projects”).
I chose, as project Name, “new_esp8266_platformio_project”, NodeMCU 1.0 as Board and Arduino as Framework, as visible in the following image:

Now click the “Finish” button and the project will be created.
The project structure includes various folders and files, in particular the folders:
- src where the main.cpp file is created which contains the actual code
- include intended to contain any header files (.h) created by ourselves
and the platformio.ini file which contains the project settings.

The main.cpp file has the usual structure composed of the two functions setup and loop (as also happens with the official Arduino IDE):

The newly created platformio.ini file contains the basic project settings:

Adding libraries to the project
Adding the libraries is a fairly straightforward step. Let’s suppose we want to add the libraries DHT sensor library for ESP (which is used to read the data transmitted by a temperature and humidity sensor such as the DHT22), WiFiManager (which is used to manage the Internet connection via WiFi) and UniversalTelegramBot (which is used to interface our project to Telegram bots). As a first step we go to the left side of the IDE and click on the PlatformIO icon:

This will open the PlatformIO main page. We are interested in the part on the left side entitled QUICK ACCESS:

Click on the Libraries item, then the PIO Home page will open:

Type DHT22 in the library search window. Various results will appear. Let’s choose the item DHT sensor library for ESPx by Bernd Giesecke:

The selected library page will open. This page contains several informations about the library, including a useful usage example. Click the Add to Project button:

A popup will open that will ask us, with a drop-down menu, to choose the project in which we want to add the library. Let’s choose our project and click the Add button:

PlatformIO will add the library and its possible dependencies to the project.
Let’s check the platformio.ini file again to see what happened:

As we can see in the previous image, the library has been added to the platformio.ini file. The procedure for installing the other two libraries (WiFiManager and UniversalTelegramBot) is the same.
Let’s return to the QUICK ACCESS menu and click on the Libraries item. Let’s type WiFiManager in the search window. We will get these (or similar) results:

We are interested in the WiFiManager by tzapu library. Let’s choose this library and click the Add to Project button in the following page. In the popup window select the project. The library and its dependencies will be added to the project as shown by the platformio.ini file:

To install the UniversalTelegramBot library we redo the same steps followed to install the previous libraries. In the results window, choose the library UniversalTelegramBot by Brian Lough:

After adding the library to the project, let’s check the platformio.ini file:

The file shows the three external libraries in the project.
We can use these libraries in our project by simply including them inside the main.cpp file:

We have seen that the platformio.ini file lists the libraries that we have installed in the project. But where are they physically? Where were they downloaded by the IDE? If we open the project folder (I called it new_esp8266_platformio_project) and go to the .pio/libdeps/nodemcuv2/ folder we will notice that the libraries are saved there, as shown in the following image:

Each folder also contains useful examples of using the libraries.
You may also notice that the ArduinoJson library has also been downloaded because it is a dependency of the UniversalTelegramBot library. So, in order to use UniversalTelegramBot in your project, you will also need to include the ArduinoJson library like this:

From the following link you can download an example of the resulting project:
Newsletter
If you want to be informed about the release of new articles, subscribe to the newsletter. Before subscribing to the newsletter read the page Privacy Policy (UE)
If you want to unsubscribe from the newsletter, click on the link that you will find in the newsletter email.
🔗 Follow us on our social channels so you don’t miss any updates!
📢 Join our Telegram channel to receive real-time updates.
🐦 Follow us on Twitter to always stay informed about our news.
Thank you for being part of our TechRM community! 🚀